
Finished quilt measures 50X65 inches, a decent sized throw for an average sized adult.
Supplies:
You will need sewing machine, rotary cutter and mat, as well as fabric.
The amount of fabric you need will depend on you. For the quilt I've made in this tutorial, I only used two types layers and no filling or batting. I've used 4m (5 yards) of cotton fabric. (2m or 3yards of each) Plus 4m (5 yards) of fleece. This may be more then enough, but I always buy extra so that if I make a mistake I can correct it without having to make a trip back to the fabric store.
Step 1:
*note - Since I am not using batting in this quilt, I could have, as a fellow quilter on Etsy pointed out to me after I'd finished this quilt, sandwiched the fleece and cotton before cutting, and cut them together so that the squares would be all lined up. However, I'd already done it the long way!
First I cut all my fabric up into 6 X 6 inch squares. I've tried different sized squares before. 6X6 works best for me because I'm not great with numbers, but I know that after I account for seam allowance, each square will be 5X5 inches, easy number to work with when counting lines and measuring your quilt in the end!

Step Two:
*If you pre-sandwiched your fabric as you cut you will omit it in this step!
After you have all of your squares cut out, you will need to sandwich them and place a pin in the center to keep them line up well. Depending on the fabric you choose, you made need to pin at the top and bottom to keep it from moving around too much while your sewing.

Step Three:
Lay out your squares in the way that you want them to look when your quilt is finished. *If I know I wont be finished the quilt in one day and I will need the floor space for something else, I lay out my squares on top of another blanket, that way when I'm finished for the day I can just roll the project up and place it to the side! Once you've got them the way you want them, it's time to start pinning the squares together line by line. Pin the squares front of the quilt on the outsides. Continue till you have a full line of squares!

When you have a full line pinned together it will look like this:
(this will be the top of your quilt)

Then you will take it to the machine and sew a 1/2 inch seam on each of the squares you've pinned together. Other tutorials will tell you you do not have to back stitch when sewing a rag quilt, but I'm a rather safe then sorry kind of gal, so I always do a back stitch just to be sure my quilts hold up a long time.

You will repeat these steps until you have all of your lines completed, and will look similar to this in the end..

Step Four:
Next you will be pinning the lines together. At first this is a little tedious, but the more you do it the better you become and faster. First place the backs of two of your lines together, starting at one end line up the seams as best as you can. Fold the seam allowance close to you to the left, and fold the seam allowance on the back to the right. We do this because we don't want a giant bunch of fabric when we go to sew our lines together, the sewing machine will not like it, and your quilt will look bunchy in spots, stick to this method and it will always turn out the same, neat and professional looking. (When I started, I pinned both from and back seam allowances to ensure my seams would line up correctly. The quilt is forgiving on the top but if you are not exact, but you will be able to tell you mistakes on the back.. if you make any)
 When you have your line is all pinned, it's back to the machine. This part goes a lot faster because you are not stopping and starting as much. Make sure your seams on the top are folded away from you, towards the presser foot, and the seams on the bottom are folded the opposite way. It seems weird to sew the seam this way, but its much easier to make sure your top seam is facing the right way then the bottom, and the bottom will tend to fold the right way because the directing of the fabric feeds into the machine. When you have your first two lines sewn together place them back on the floor where they were, and repeat with the next two lines. I sew them two at a time, because the longer you keep the pieces your working with smaller, the easier they will be to work with. Example: if you keep adding lines onto the first line, about 4 -5 lines down the quilt will start to become more heavy and harder to maneuver.
 Next you will pin and sew the first two lines to sewed together, to the second two lines which will end up looking like this:
 Continue on untill all of the pieces are sewn together and you have a quilt! Once you have completed this part, you will want to sew around the border. I give the border a double stitch ( I make two laps around the entire quilt) to ensure it will last a long time! When you take it to the machine this time, you will have to make a decision... which way to sew the seams!? For this quilt, because the fleece ends up on the inside, I choose to have all my seams sew to the back. If I had the same pattern on the backing of my quilt as the front, I would have folded the seams outwards or open, to match the squares and blend in better. (you will see what I mean if you ever make one this way)
Step Five:
Next is the part that probably takes me the longest. The snipping! The best suggestion I ever got when it comes to these quilts and I will pass on to you, is to buy these spring loaded scissors. They save your hands from doing the opening part and you are about to doing the most snipping you've ever done in your life! I snip mine every 1cm, which is .4 inches. that's a quarter inch I believe!

Step Six:
Take your quilt to the washer/dryer!! If you want to save your washer and dryer at home, I suggest you use a laundry mat to wash them the first time. Reason being, a LOT of lint and fuzz comes off these the first time you wash them. Commercial washer and dryers handle this better. My mom washed hers in her home washer/dryer, and she just emptied the lint trap every 10 mins or so and that worked, but if you don't have time for that, I suggest laundry mat! I wash mine in cool water, in a front loader (top loaders in my opinion are harder on clothes/quilts) and dry them on the tumble for this type. You don't prewash the fabric for rag quilts, so if you use a lot of heat, they may shrink up a bit, which can add to the raggy look. But I again prefer to take the safe route, and use tumble.
And now to reveal my finished, washed and dried, completed quilt....
Here is the quilt spread out:
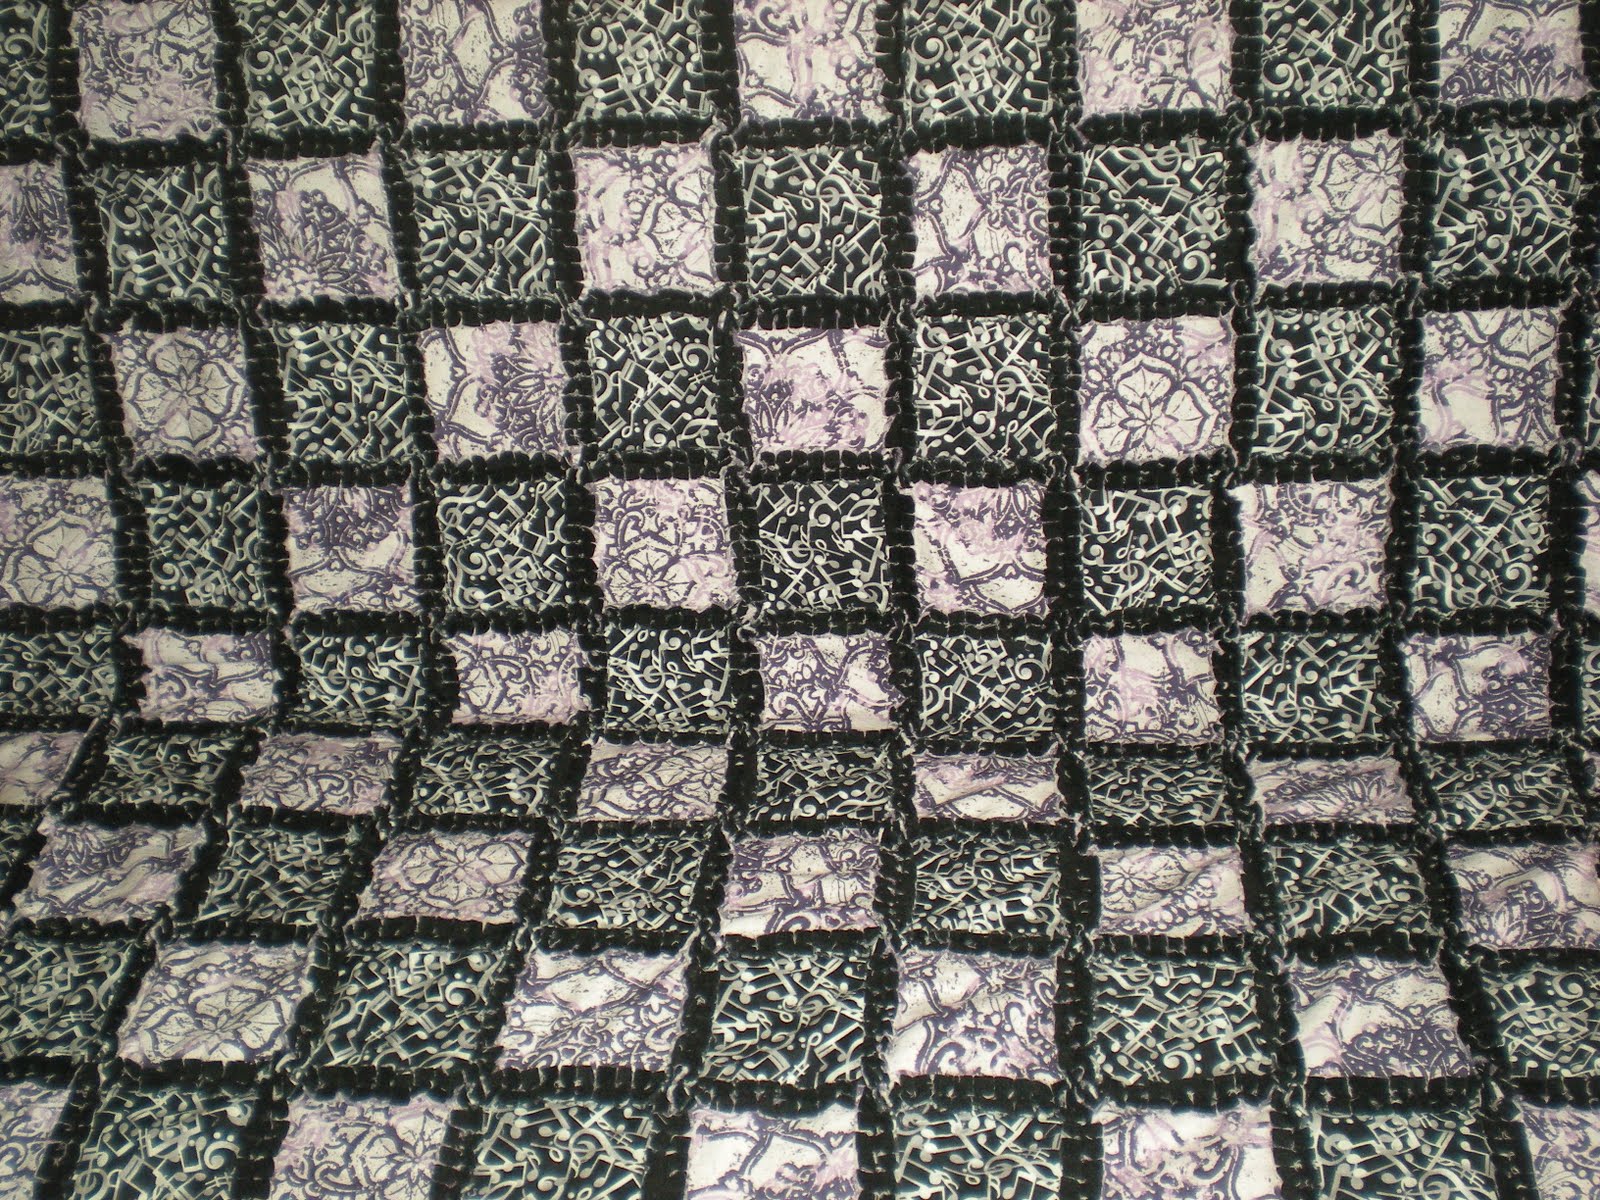
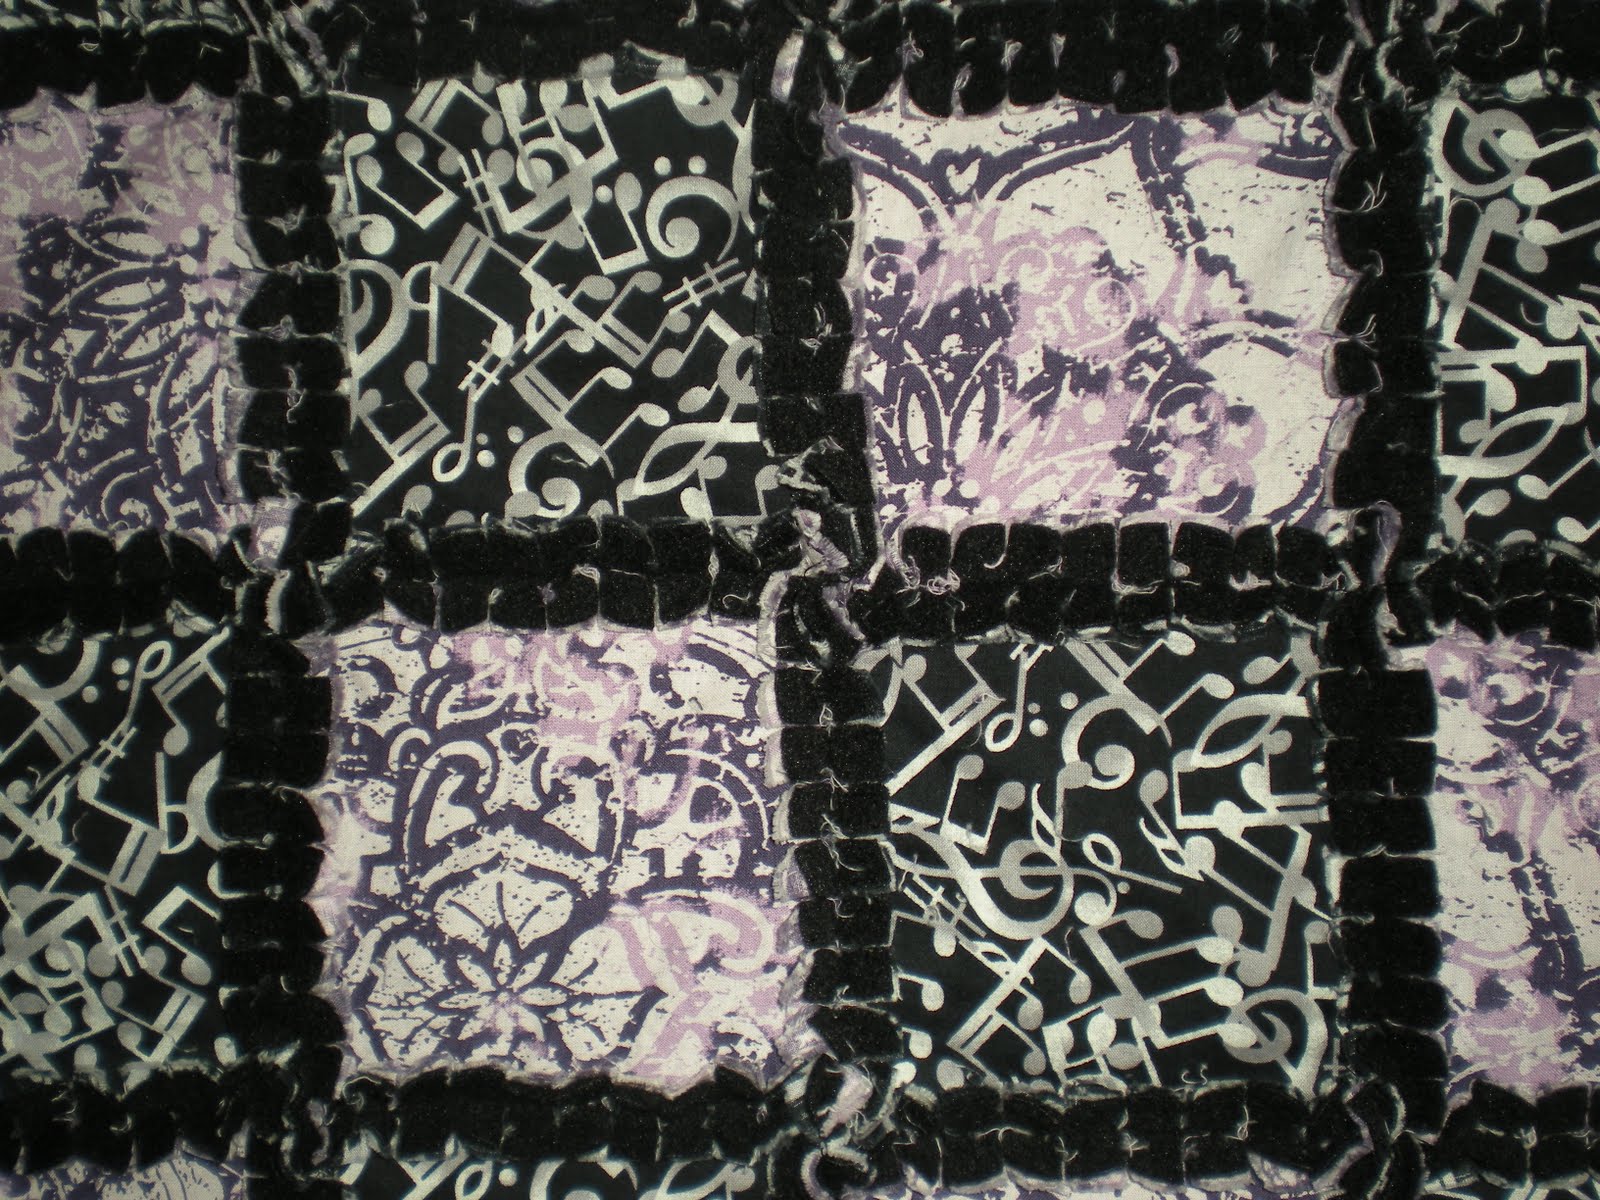
A close up. ( I love how the fleece mingles with the cotton)
Cuddly and cute!

Thank you for reading my first tutorial, I hope you enjoyed it!
* If you have any questions you can email me @ CanadianQuilts@gmail.com
* Please like us on Facebook or join us on Twitter
* If you are interested in purchasing a quilt, you can have a look at the ones completed at Etsy or send me an email for custom quilts ;)
No comments:
Post a Comment